How to Size and Adjust an Oversized Square Neck Tank Top Pattern for a Perfect Custom Fit

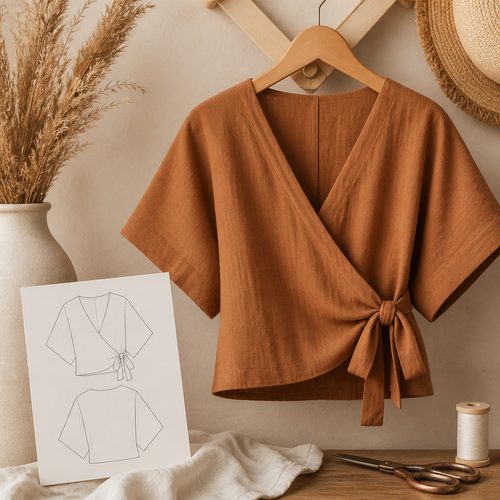
Boho Wrap Top Pattern, $4.99. Instant download, A4 and US Letter.
See the pattern
How do I adjust a square neck tank top sewing pattern to fit my body?
Why Sizing an Oversized Pattern Is Different from Regular Fitting
Oversized sewing patterns are intentionally drafted with significant positive ease built in — often 4 to 8 inches more than your actual bust measurement — so standard fitting advice doesn't always apply. The challenge is that 'oversized' means different things to different sewers: what reads as a relaxed, drapey fit on one body can feel like a shapeless tent on another. Before you make any adjustments, it's important to understand how much ease is already included in the pattern so you don't accidentally over-correct. Most PDF patterns will list a 'finished garment measurement' separate from the size chart, and that finished number is your real starting point. If the pattern you're working with only lists body measurements on the size chart, check the finished garment schematic (usually on the last pages of the PDF) before picking up your scissors.
How to Choose Your Starting Size When the Fit Is Intentionally Loose
For an oversized silhouette, resist the urge to size up 'for extra room' — the ease is already there by design. Instead, select your size based primarily on your high bust measurement (taken just under the armpits, across the fullest part of your chest but above the fullest point of the bust) rather than your full bust. The high bust drives how the neckline and straps sit on your body, and since a square neck is a structured geometric shape, getting that placement right matters more than accommodating bust volume in an already-roomy cut. If you have a larger cup size (D cup or above), you may want to choose by high bust and then do a small full-bust adjustment (FBA) if the front feels too tight across the apex. For most people wearing this style casually, however, choosing by high bust and trusting the ease is the cleanest path to a great result.
Grading Between Sizes: Step-by-Step for a Smooth Blend
Grading between sizes means transitioning from one printed size line to another at a specific point on the pattern, so you can get, for example, a smaller size at the shoulder and a larger size at the hip. Start by tracing your chosen sizes onto a fresh sheet of paper or tracing film — never cut directly into a PDF printout you've assembled, especially if you might want to make the pattern again in a different size. To blend between sizes, use a curved ruler (a French curve or a flexible ruler) to draw a smooth line connecting the two size lines over roughly 2–3 inches rather than making an abrupt angle. The most common grading point on a tank top is between the underarm and the hip: go up a size starting at or just below the bust line and gradually blend back to your upper-body size by the waist or hip seam. Mark your graded line clearly with a colored pencil so it's easy to distinguish from the original printed lines when you're cutting.
Adjusting the Crop Length to Hit Where You Want It
The crop length on a tank top pattern can vary dramatically between designers, so it's worth doing a quick mock-up before committing to your real fabric. To test the length, cut a rough version out of an inexpensive muslin or even old bed-sheet cotton, sew the side seams with a long stitch (so it's easy to remove), and try it on. Mark where you want the hem to fall with a fabric marker or pins while you're wearing it. If you need to lengthen the pattern, add the extra length at the 'lengthen/shorten line' printed on most patterns — usually a double horizontal line across the front and back pieces. If no such line is printed, add length directly at the hem, but be aware that this can affect the flare or taper of the hem edge if the piece is shaped, so you may need to redraw the side seam angle slightly to keep the silhouette consistent.
Modifying Strap Width and Placement for Your Shoulder Width
Wide straps are a key design feature of this style, but 'wide' is relative — if your shoulders are narrow, even a 2-inch strap can feel like it's slipping toward the edge of your shoulder. Before sewing your final garment, measure the distance from the edge of your shoulder (the bony point) to your neckline at the same angle the strap will lie. Compare this to the strap placement marked on the pattern. If the straps need to move inward (toward the center), simply redraw the strap attachment points on the front and back bodice pieces, making sure to keep the straps equidistant from center front and center back respectively. If you want to narrow the straps for a different look, adjust symmetrically — reduce both edges of the strap by the same amount on each side — and then re-check that the neckline binding or facing will still have enough fabric to cover cleanly.
Getting the Square Neckline to Lie Flat After Adjustments
A square neckline is geometrically unforgiving: if the corners pull, pucker, or gap away from the chest, it's immediately obvious. When you've made any width or ease adjustments to the front bodice, always re-measure the neckline opening and compare it to the facing or binding piece that finishes it — these must match or the finish will be distorted. If you widened the neckline by removing ease from the front, trim the binding piece to the new neckline length, easing any small difference (under half an inch) or recut the binding for a larger discrepancy. When sewing the corners of a square neckline, clip right to — but not through — the seam allowance at each inner corner before turning and pressing, which allows the corner to open flat rather than bunching. Press from the right side using a tailor's ham or a rolled towel at the corners to maintain the crisp right-angle shape, and use a point turner to gently push fabric into each corner from the inside.
Taking Final Measurements Before Cutting Your Fashion Fabric
Once you've made all your adjustments on paper or muslin, do one final measurement check before cutting into your good fabric. Lay your adjusted pattern pieces flat on a smooth surface and measure the side seams of the front and back bodice — they should be equal in length so the seam sews together without one piece stretching or pulling. Measure across the shoulder from strap to strap on both front and back and confirm they match. Check that the total neckline perimeter on the bodice matches the binding or facing piece length within about a quarter inch. If you used a PDF pattern that you printed and taped, also check that your pages are aligned correctly by verifying the calibration square (usually a 1-inch or 2-inch test box printed on page one) against a ruler. Catching any discrepancy now takes five minutes; catching it after you've cut your fabric takes much longer and may cost you yardage.
Key Takeaways
- Select your size from a PDF sewing pattern based on your high bust measurement, not your full bust, for a cleaner square neckline fit.
- Always compare the finished garment measurements (not just the size chart) before choosing your size in an oversized pattern.
- Grade between sizes smoothly with a curved ruler, transitioning over 2–3 inches rather than making an abrupt jump between size lines.
- Test the crop length in an inexpensive muslin before cutting your fashion fabric — mark adjustments while wearing it.
- After any fit adjustments, re-measure the neckline opening against your binding or facing piece to ensure they match before sewing.