How to Crochet Christmas Ornaments: A Complete Beginner's Guide to Handmade Holiday Decorations

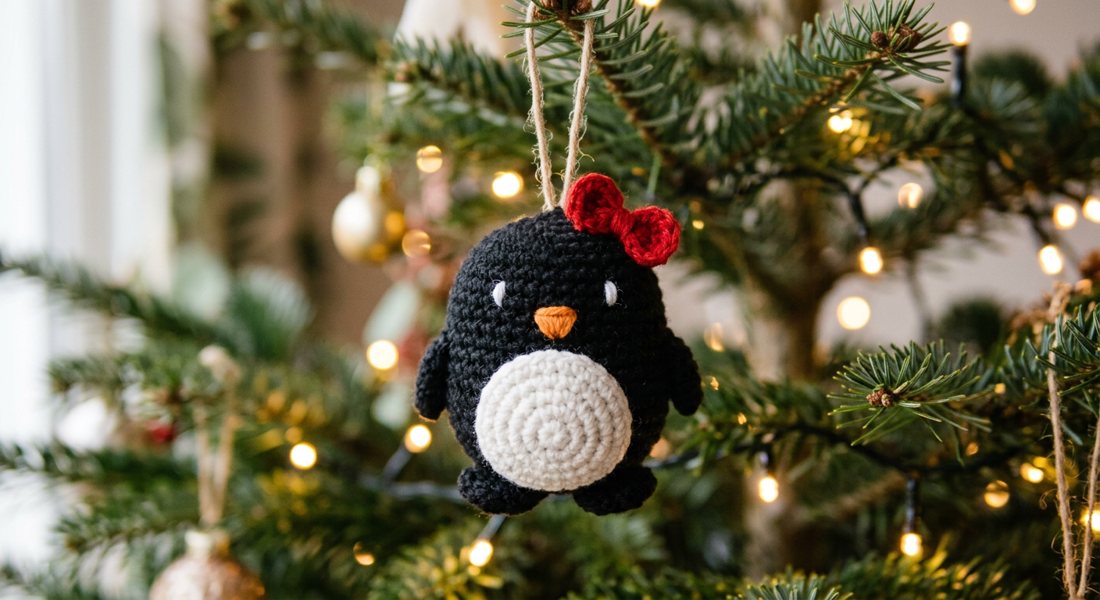
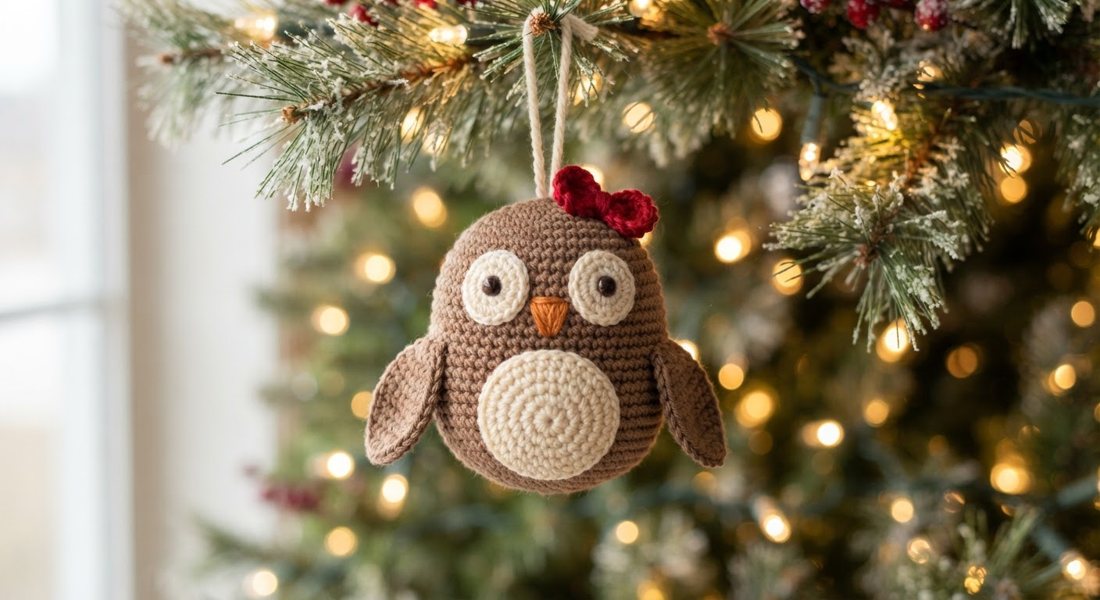
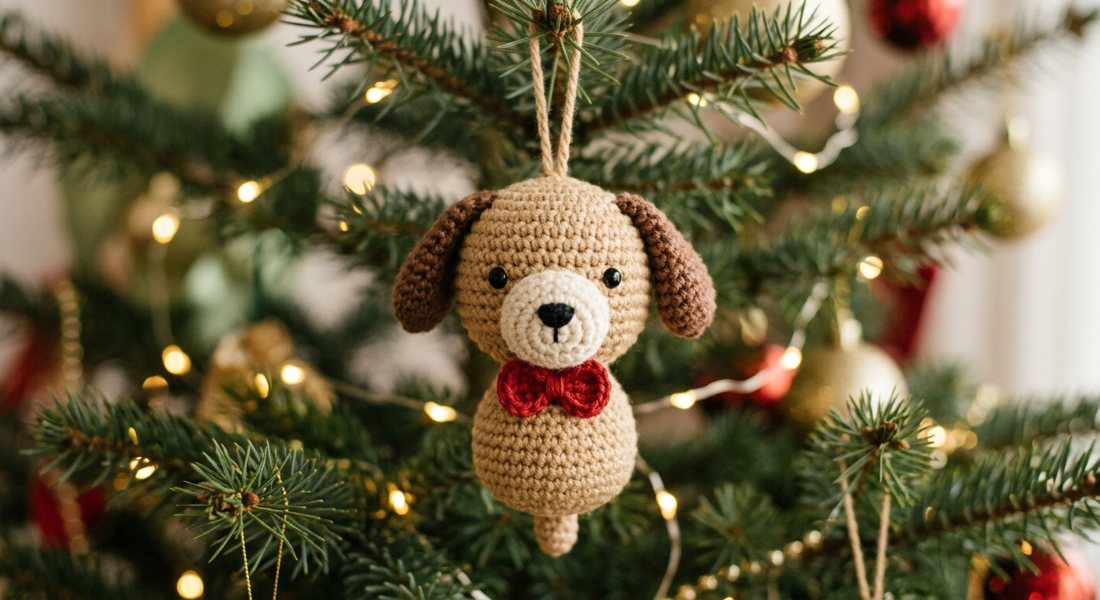
See all 40 free Christmas patterns or all 40 in 3D for $9.99
How do I crochet Christmas ornaments for beginners?
What Crocheted Christmas Ornaments Are (And Why They're Worth Making)
Crocheted Christmas ornaments are small, three-dimensional decorations worked in yarn or thread and typically stuffed with polyfill or wrapped around a plain plastic or glass ball form. Unlike store-bought ornaments, handmade crochet pieces carry genuine texture and personality that mass-produced decorations simply cannot replicate. They make meaningful gifts, heirloom keepsakes, and thoughtful additions to a holiday tree that can be passed down through generations. Most finished ornaments measure between 2 and 4 inches in diameter, making them quick projects you can realistically complete in an evening or two. Because the finished objects are small, crochet ornaments are also an ideal way for beginners to practice new stitches without committing to a large, time-intensive project.
What You Need Before You Start Crocheting Ornaments
To crochet a basic Christmas ornament, you will need a crochet hook (typically size B/1 – E/4, or 2.25 mm – 3.5 mm for thread-weight or fingering-weight yarn), yarn or crochet thread in your chosen colors, a yarn needle for weaving in ends, polyfill stuffing or a foam ball form, and small scissors. Metallic yarn and sparkle thread are popular choices for ornaments because they catch light on the tree, though standard worsted-weight cotton or acrylic also work beautifully for solid, structured shapes. A stitch marker is helpful for keeping track of rounds when working in the round, which is how the vast majority of ornament patterns are constructed. If you plan to hang your finished ornament, you will also want a short length of ribbon, twine, or a small ornament hook. Having all of these supplies gathered before you sit down with your pattern will make the process much smoother and more enjoyable.
How to Read a Crochet Ornament Pattern
Most crochet ornament patterns are written using standard US crochet abbreviations: sc means single crochet, dc means double crochet, sl st means slip stitch, and MR or magic ring refers to the adjustable loop technique used to start most worked-in-the-round projects. A well-written pattern will list gauge (how many stitches equal one inch), finished dimensions, materials, and a full stitch key before the instructions begin. Each round in the pattern will tell you the stitch type, how many to work, and the total stitch count at the end of that round — for example, "Round 3: *sc 1, inc* repeat 6 times (18 sts)." If you are new to crochet, it is worth reading through the entire pattern once before picking up your hook so you can flag any unfamiliar stitches and look them up in advance. Digital PDF patterns, like those offered by Craftuary, are especially convenient because you can zoom in on stitch diagrams, print the pages you need, or keep the file open on a tablet while you work.
Choosing the Right Hook Size and Yarn Weight
Hook size and yarn weight work together to determine the density and drape of your finished ornament. For tightly stuffed, sculptural ornaments that hold their shape firmly on the tree, choose a hook one or two sizes smaller than the yarn label recommends — this creates a tighter fabric with fewer gaps so stuffing does not show through. Fingering-weight or size 10 crochet thread worked on a B or C hook produces delicate, lacy ornaments with an elegant, heirloom feel. Worsted-weight yarn on a G or H hook works up faster and is much easier for beginners to handle, creating chunkier, more modern-looking ornaments. For beginners, a smooth, light-colored yarn in a solid color is ideal because the stitches are easy to see and count, which helps you catch any mistakes before they require frogging (unraveling) multiple rows. Once you are comfortable with the stitch pattern, experimenting with variegated, metallic, or self-striping yarn is a fun way to add visual interest without changing the pattern itself.
Step-by-Step: Working Your First Crochet Ornament Round by Round
Nearly all crochet ornament patterns begin with a magic ring (also called an adjustable ring), which allows you to pull the center of the circle completely closed so no hole shows at the top of the ornament. After forming the magic ring, you will work a set number of single crochet stitches into it — typically 6 — and then pull the tail tight before slip-stitching to join or continuing in a spiral. From that foundation, each subsequent round increases in stitch count to expand the sphere outward: a standard increase pattern doubles to 12 stitches, then 18, then 24, until the ornament reaches its widest point. Once you reach the equator of the sphere, the decreasing rounds begin — these are worked using invisible decreases (sc2tog) to pull the fabric back inward — and this is when you add your polyfill stuffing. The trick with stuffing is to add it gradually rather than all at once: check the shape after every two decrease rounds and add small pinches of fill to keep the ornament firmly rounded without overstuffing, which distorts the final shape.
Common Beginner Mistakes and How to Fix Them
One of the most common mistakes beginners make when crocheting ornaments is losing count of stitches in a round, which causes the shape to look uneven or pulled to one side. Using a stitch marker at the beginning of each round is the simplest fix — move it up as you complete each round so you always know where you started. Another frequent issue is working into the wrong loop of the stitch: unless your pattern specifies back loop only (BLO) or front loop only (FLO), always insert your hook through both loops at the top of the stitch. Tension inconsistency — crocheting tighter when you are distracted and looser when you are relaxed — can make the ornament lopsided, so try to crochet in a calm, comfortable environment, especially while learning. If your ornament is not closing neatly at the top or bottom, try switching to a smaller hook for the final few decrease rounds, which tightens the stitches just enough to close cleanly without requiring you to hand-sew the opening shut.
Finishing, Embellishing, and Hanging Your Handmade Ornaments
Once you have completed the final decrease round and closed the ornament, use your yarn needle to weave the tail end securely through at least four or five stitches on the inside before trimming — this prevents the tail from working loose and creating a hole over time. For hanging, cut a 6-inch length of ribbon or twine, fold it in half, and use your yarn needle to thread the folded loop through the top of the ornament and secure it with a knot before trimming the tails. Embellishments like small crocheted snowflakes, single-stitch embroidered details, sewn-on buttons, or a simple surface slip-stitch stripe can transform a plain round ornament into something that looks truly custom and thoughtful. If you are making ornaments as gifts, attaching a small tag that includes the yarn fiber content is a considerate touch — especially for households with young children or pets, since some embellishments are not suitable for low-hanging branches. Finished crocheted ornaments can be stored flat in tissue paper inside a lidded box to protect them year over year without compressing the fill or distorting their shape.
Why a Crochet Pattern Bundle Is the Smarter Starting Point
Purchasing a pattern bundle — rather than hunting for individual free patterns across multiple websites — gives you a consistent set of instructions written by the same designer, which means abbreviations, stitch definitions, and gauge information are uniform across every project in the set. This consistency is especially valuable for beginners who are still learning to decode pattern language, because you only have to learn one designer's notation style. A well-curated Christmas ornament bundle typically includes multiple shapes (round baubles, stars, bells, trees, or characters) at varying difficulty levels, so you can start with the simplest design and progress as your skills grow throughout the holiday season. Craftuary offers a Christmas Ornament Crochet Pattern Bundle as an instant digital download at shopcedarcompass.com for $6.25 — the PDF delivers immediately after purchase so you can start the same day, with no shipping wait and no risk of a pattern going out of stock. Digital patterns are also infinitely reprintable, meaning you can share the physical printed copy with a crocheting friend or print a fresh clean copy when your working copy gets marked up with notes.
Key Takeaways
- Crochet Christmas ornaments are typically worked in the round starting from a magic ring, increasing to a widest point and then decreasing to close the sphere.
- A hook one or two sizes smaller than the yarn label recommends creates a tighter, more durable ornament fabric that conceals stuffing.
- US crochet abbreviations — sc, dc, sl st, inc, sc2tog — are standard across most ornament patterns; learning them once unlocks any pattern.
- Stuffing should be added gradually during the decrease rounds, not all at once, to maintain a smooth, evenly rounded shape.
- Digital PDF pattern bundles offer consistent notation, multiple designs at varied difficulty levels, and instant delivery — Craftuary's Christmas Ornament Bundle is available at shopcedarcompass.com for $6.25.
- Using a stitch marker at the start of each round is the single most effective way to prevent count errors in worked-in-the-round projects.
- Finished ornaments should be stored flat in tissue paper to preserve their shape and fill between holiday seasons.