How to Crochet a Structured Bucket Bag with Leather Handles: Complete Guide
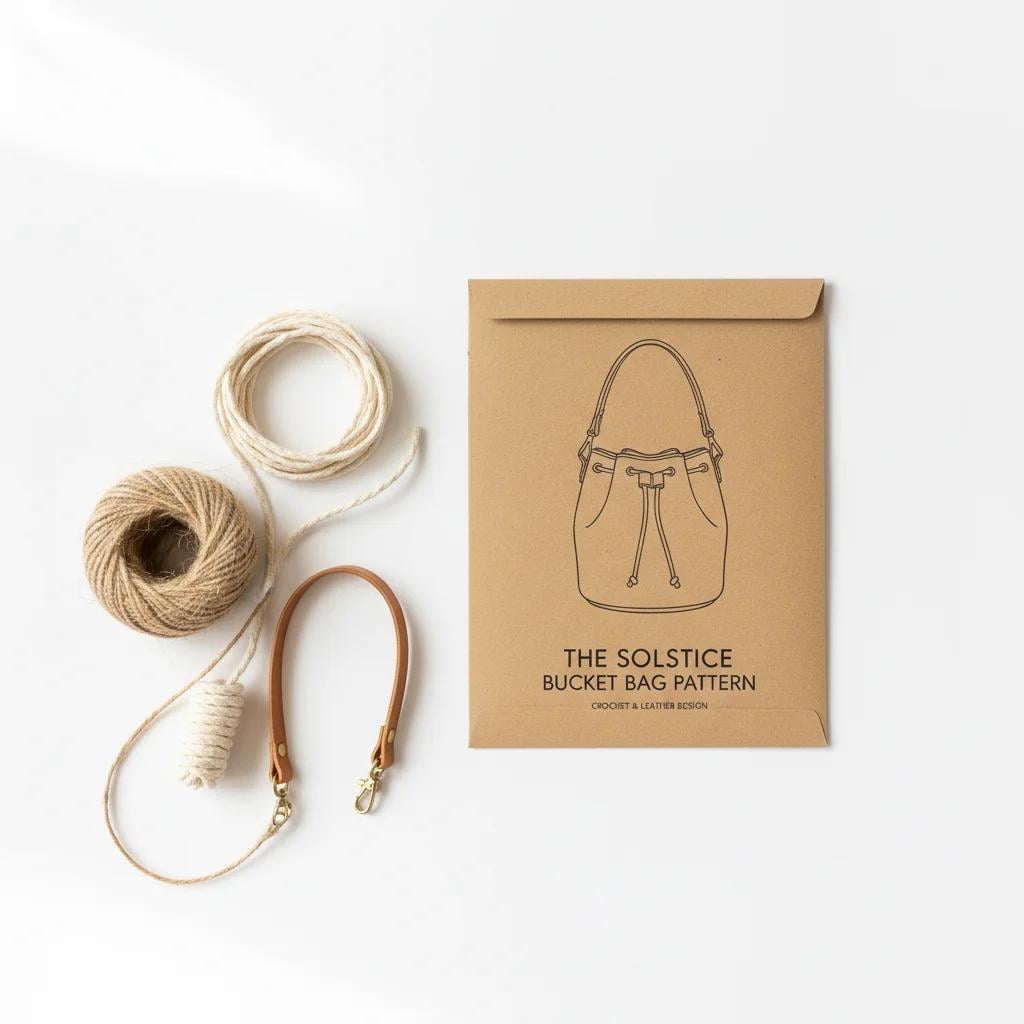
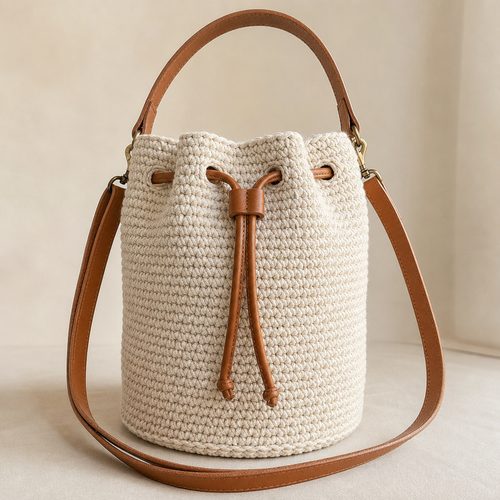
Coastal Bucket Bag Crochet Pattern, $4.99. Instant download, A4 and US Letter.
See the pattern
How do you crochet a structured bucket bag with leather handles?
What Makes a Crochet Bucket Bag 'Structured'?
A structured crochet bucket bag holds its shape independently — it doesn't collapse when set down or sag under the weight of your belongings the way a standard market bag does. The key to achieving this rigidity lies in two factors: fiber choice and stitch density. Cotton rope, jute cord, and macramé-weight cotton are the top choices for structured bags because their natural stiffness doesn't rely on the crocheter's tension alone. Working with a hook one or two sizes smaller than the yarn label recommends creates a tighter fabric with less give, which translates directly into a bag that stands upright. Unlike soft acrylic or wool bags, a cotton or jute bucket bag develops a near-canvas-like body that keeps its cylindrical silhouette through daily use.
Materials You'll Need Before You Start
For a leather-handle bucket bag, you'll need three core categories of supplies: fiber, hardware, and tools. For fiber, choose a 3mm–5mm single-twist cotton rope or jute cord in at least 200–300 yards depending on your desired finished size — look for labels that specify 'macramé cord' or 'single strand cotton rope' rather than soft yarn for best structural results. For hardware, purchase a pair of genuine leather bag handles with pre-punched attachment holes or D-rings; these are widely available from leather craft suppliers, bag hardware shops on Etsy, and fabric stores, and typically come in 18-inch or 22-inch lengths. You'll also want a 5.0mm–5.5mm crochet hook, stitch markers, a tapestry needle with a large eye for weaving in thick cord ends, and sharp scissors. A thin strip of leather, suede cord, or waxed linen thread is useful for attaching handles securely through drilled or pre-punched points on the bag rim.
How to Choose Leather Handles That Pair Well with Crochet
Leather handles sold specifically for bag making are the correct choice here — standard bag straps designed for sewing projects may lack the attachment hardware you need for a crochet structure. Look for handles with flat attachment tabs on each end, which can be folded over the top edge of the bag and stitched down through the crochet stitches using waxed thread or thin suede cord and a large blunt needle. Vegetable-tanned leather in tan, cognac, or black offers the most durability and develops a beautiful patina over time. Avoid bonded leather or faux leather for handles, as these materials crack at flex points under regular use. The handle length should be proportional to the bag's diameter: a 10-inch diameter bag pairs naturally with 18–22 inch handles for a comfortable shoulder carry, while a 7–8 inch bag works better with shorter 14–16 inch handles to prevent the bag from riding too low.
Building the Bucket Bag Base: Where Structure Begins
A well-executed bucket bag starts with a circular flat base worked in the round, typically using single crochet or half double crochet stitches that are tight enough to resist stretching. Begin with a magic ring and increase evenly across the first several rounds — a standard six-stitch increase pattern worked over eight to ten rounds produces a sturdy flat circle roughly 6–7 inches in diameter, which forms the bag's floor. Once the base reaches your target diameter, stop increasing and continue working even rounds straight up the sides, which creates the cylindrical bucket shape. The transition point between the flat base and the vertical sides is where many new bag makers run into problems: if your base rounds were too loosely tensioned, the bag will flare at the bottom rather than rising cleanly. Check your gauge swatch against the pattern before beginning, especially when switching between cotton rope brands, since twist density varies significantly and affects stitch size.
Creating the Drawstring Top Closure
The drawstring closure is what separates a true bucket bag from an open-top tote, and it's one of the most practical design elements in this style. To create the drawstring channel, you'll work a series of evenly spaced chain-space eyelets near the top of the bag — typically in the final two to four rows — by substituting a chain stitch and skip combination for regular stitches at consistent intervals around the circumference. Once the body is complete, cut a length of cord, ribbon, or thin leather lace approximately 1.5 to 2 times the circumference of the bag opening and thread it through the eyelets using a blunt tapestry needle or a bobby pin. A finished tip on each end of the drawstring — either a knot, a leather keeper, or a small wooden bead — prevents the cord from pulling through the eyelets accidentally. For a polished look, use the same type of cord as your bag body for the drawstring so the finished piece looks intentional and cohesive.
Attaching the Leather Handles: Step-by-Step
Attaching leather handles to a crochet bag is simpler than it looks and does not require any special tools beyond a large-eye needle and strong thread. Begin by marking the handle placement symmetrically on each side of the bag — measure the bag's circumference and divide by two to find the center points, then mark your attachment spots two to three inches on either side of each center point for a balanced carry. Fold the leather attachment tab over the top edge of the bag so it sandwiches the crochet fabric, then use waxed linen thread, artificial sinew, or thin suede cord in a matching color to stitch through the pre-punched holes in the leather tab and through the adjacent crochet stitches in a tight whip stitch or saddle stitch pattern. Pull each stitch firmly — the goal is a connection that won't shift or loosen with the weight of the bag's contents. Repeat for all four attachment points, and finish each end with a surgeon's knot pulled tight against the inside of the bag and trimmed flush.
Finishing Touches That Elevate the Final Look
Once the bag is assembled, a few finishing steps take it from handmade to heirloom quality. Weave in all cord ends using a tapestry needle, pulling the tails through at least four stitches in different directions before trimming, which prevents unraveling even with a stiff cotton or jute cord. If the bag base isn't sitting perfectly flat, a light blocking session — dampening the bag with cool water, shaping it over a bowl or pot of the correct diameter, and allowing it to air dry — can correct minor shaping inconsistencies. For cotton cord bags, a light spray of fabric stiffener on the exterior (applied before handle attachment) adds an extra layer of body and helps the bag maintain its shape through the first several washes. A small removable inner liner bag sewn from a sturdy lining fabric like canvas or quilting cotton is an optional but worthwhile addition, keeping small items from poking through the crochet stitches and making the bag feel far more finished on the inside.
Working from a PDF Pattern: What to Expect
A well-written crochet bucket bag PDF pattern will walk you through every stage described above in US-standard crochet terminology, with stitch counts provided round by round so you can verify your progress at each stage. When downloading a digital pattern, look for one that specifies the recommended cord weight and hook size upfront, includes a gauge swatch target, and breaks the construction into clearly labeled sections: base, body, drawstring channel, and finishing. PDF patterns allow you to print at home, annotate as you go, and reference the file indefinitely — there's no waiting for shipping and no risk of the pattern going out of stock. Because leather handles are a separate purchase, a good pattern will also include guidance on which handle dimensions and attachment styles are compatible with the design, saving you from buying handles that don't fit. This combination of digital convenience and lasting reference value makes PDF crochet patterns one of the most practical digital downloads available for fiber crafters at any skill level.
Key Takeaways
- Structural integrity in a crochet bucket bag comes from using stiff fiber like cotton rope or jute cord, not soft yarn
- Leather handles are purchased separately and attached using waxed thread or suede cord stitched through pre-punched holes in the handle tabs
- The drawstring closure is formed by crocheting evenly spaced chain-space eyelets near the bag's top edge, then threading cord through them
- Start with a tight magic-ring base worked in the round, increasing evenly, then work straight sides upward for the bucket shape
- Blocking a finished cotton or jute bag over a bowl and allowing it to dry fully helps correct shaping and sets the structure
- PDF crochet patterns provide permanent, printable, immediately downloadable instructions — no shipping required