How to Crochet a Pumpkin Man Amigurumi for Halloween: Step-by-Step Guide

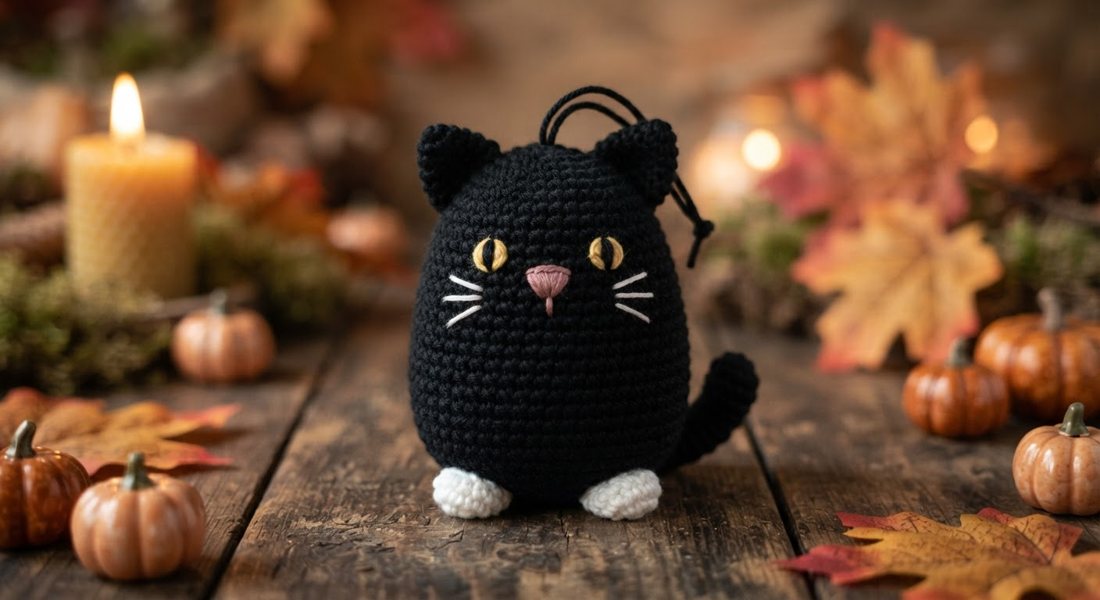
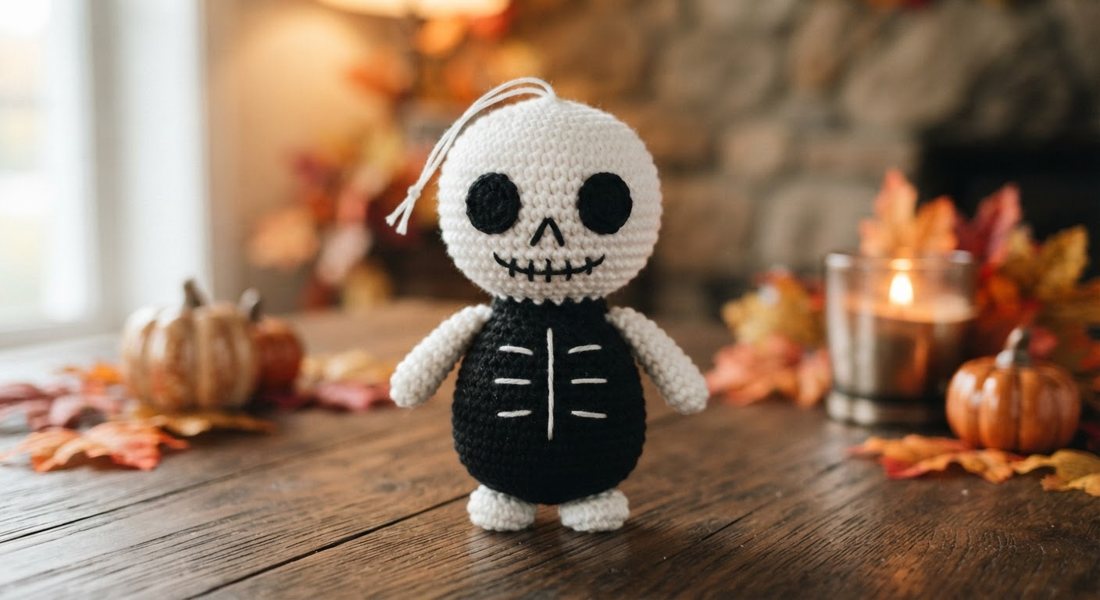
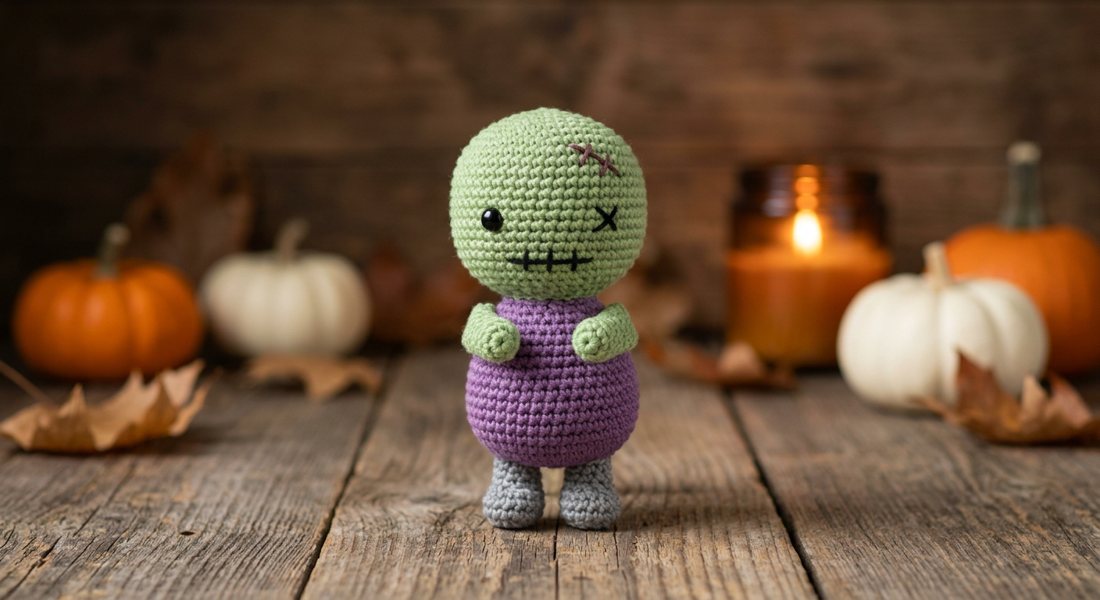
How do you crochet a pumpkin man amigurumi for Halloween?
What Is a Pumpkin Man Amigurumi and Why Make One?
Amigurumi is the Japanese craft of crocheting or knitting small, stuffed yarn figures, and a pumpkin man amigurumi applies that tradition to a festive Halloween character — a rounded orange pumpkin body with a humanoid form, carved face, and often a stem on top. These plushies are enormously popular in October because they work as shelf décor, thoughtful handmade gifts, and satisfying short-term crochet projects you can realistically finish in a weekend. Unlike large blanket or garment projects, amigurumi are worked in continuous rounds of single crochet, which means there's no complex stitch vocabulary to master before you begin. The compact size of most pumpkin man plushies — typically palm-sized when finished — keeps yarn costs low and lets you make multiples once you know the pattern. If you can chain, make a magic ring, and single crochet, you already have the core skills needed to complete one.
Materials You'll Need Before You Start
For a pumpkin man amigurumi, gather worsted-weight yarn in orange for the main body, plus black or dark green for the stem and facial details, and any accent color you'd like for a hat, clothing, or limbs. A 3.5mm or 4.0mm crochet hook pairs well with worsted-weight yarn and produces a fabric tight enough that polyfill stuffing won't show through the stitches. Polyfill stuffing — the same material used in commercial stuffed animals — is the standard fill; it's lightweight, washable, and holds a round shape well. You'll also need a yarn needle for seaming and weaving in ends, stitch markers to track your spiral rounds, and a pair of safety eyes (6mm to 12mm) for a polished look, or black felt and fabric glue if the toy is intended for small children where small parts are a safety concern. Having everything ready before you start prevents frustrating mid-project interruptions and helps you maintain consistent tension throughout.
Essential Stitches and Techniques for Amigurumi
A pumpkin man amigurumi relies almost entirely on three operations: the magic adjustable ring as your cast-on, single crochet (sc) as your primary stitch, and a combination of increases (two sc into one stitch) and invisible decreases (inserting your hook through the front loops of two stitches together) to shape the body. The magic ring is non-negotiable for amigurumi because it closes the center hole completely, preventing stuffing from peeking through — a chain ring leaves a small visible gap that looks unprofessional on a finished piece. Because amigurumi is worked in a continuous spiral rather than joined rounds, you must place a stitch marker at the first stitch of every round and move it up as you go, or your counts will drift and the shaping will look uneven. The invisible decrease (sometimes called the no-show decrease) is worth practicing on a small swatch before starting the actual project; it produces a smooth surface with no visible 'V' distortion the way a standard sc2tog does. For the pumpkin's signature ridged look, many patterns use back-loop-only (BLO) single crochet for several rounds, which creates raised vertical columns that mimic the segments of a real gourd.
How to Crochet the Pumpkin Man Body
Begin the pumpkin body with a magic ring, work 6 single crochets into the ring, and pull the tail to close it — this is round 1 and gives you 6 stitches. In round 2, increase in every stitch to reach 12; in round 3, alternate one sc and one increase to reach 18; continue this pattern of adding one plain stitch between each increase set each round until you hit your target circumference, usually 36 to 42 stitches for a palm-sized plushy. Work several even rounds (no increases or decreases) in the middle; if your pattern calls for BLO ridges, this is the section where you switch to back-loop-only stitches for 2 to 4 rounds. Insert your safety eyes firmly between rounds 10 and 12 before the opening becomes too small — once you've started the decrease section, getting your fingers inside to attach the washer becomes nearly impossible. Decrease evenly in the final rounds by mirroring your increase pattern in reverse, adding small pinches of polyfill as you go so the body stays evenly firm, then close the last few stitches by threading your yarn needle through the remaining loops and pulling tight.
Crocheting the Arms, Legs, and Stem
Amigurumi limbs are worked as small separate tubes or ovals and then sewn onto the finished body. For the pumpkin man's arms, start with a magic ring of 4 to 6 stitches, work a flat circle or oval for the hand, then crochet straight upward in the round for 6 to 8 rows — leave the tops open and lightly stuff them or leave them unstuffed if they're thin enough to lay flat naturally. Legs follow the same logic but are typically a round or two wider in diameter and can be left open at the top so they stitch directly and securely to the body's base. The stem is crocheted in green or dark brown yarn as a tight, dense cylinder — about 6 stitches around and 4 to 6 rounds tall — then slip-stitched closed and attached to the very top center of the pumpkin head with a whip stitch. Before committing to sewing anything, pin all limbs in place with straight pins and hold the figure at arm's length to check symmetry; adjusting placement at this stage takes ten seconds, while seam-ripping and resewing after the fact takes considerably longer.
Adding the Jack-o'-Lantern Face and Halloween Details
The face is the moment your pumpkin man transforms from an orange ball into a Halloween character. If you used safety eyes, they're already locked in from the body assembly step — you can pair them with a simple embroidered smile using black yarn or embroidery floss and a backstitch, which creates a clean line that holds up through years of handling. For a classic carved pumpkin look, cut triangle eyes, a triangular nose, and a jagged-tooth grin from black craft felt and attach them with fabric glue or small whip stitches around the perimeter — felt lies flat and doesn't fray, so it's forgiving for first-timers. Embroidered features are the safest choice if the amigurumi is a gift for a young child, since there are no attached pieces that could detach and become a choking hazard. Many pumpkin man patterns also include optional accessories — a tiny witch hat, a striped scarf, or a miniature broom crocheted separately and tied into one hand — and these small add-ons are what push a gift-quality piece from cute to genuinely impressive. Follow the specific recommendations in whichever PDF pattern you're using, as the facial placement coordinates are usually calibrated to the exact stitch counts in that design.
Stuffing, Finishing, and Long-Term Care
Firm, even stuffing is the difference between a professional-looking amigurumi and one that looks lumpy or deflated — always use small pinches of polyfill rather than large clumps, working the fill into corners and curves as you go. Add stuffing gradually during the decrease rounds rather than all at once when the opening is nearly closed, which gives you precise control over the final silhouette. To finish, thread the yarn tail onto a yarn needle, weave it through several stitches in different directions inside the body to lock it, and trim close — never just knot the tail, as knots work loose over time. If the finished plushy needs cleaning, hand-wash it gently in cool water with a small amount of mild soap, press out excess water with a towel (never wring), and air dry flat to maintain its shape. Keep your pumpkin man out of prolonged direct sunlight — bright orange yarns are particularly prone to UV fading and can shift toward a washed-out peach over a single season of window display.
Where to Get a Tested Pumpkin Man Amigurumi PDF Pattern
If you'd rather follow a professionally written pattern than draft your own from scratch, Craftuary offers a Crochet Pattern Pumpkin Man Plushy Halloween Amigurumi PDF as an instant digital download at shopcedarcompass.com at shopcedarcompass.com. The file downloads immediately after purchase — no shipping wait — and can be saved to any device, printed at home, or pulled up on a tablet while you work. PDF patterns from Craftuary include round-by-round stitch counts, clear assembly instructions, and materials lists so you spend more time crocheting and less time deciphering vague directions. At under $10, a single digital pattern can be used to make as many plushies as you like — for your own Halloween display, as gifts, or even as seasonal craft fair inventory — making it dramatically more economical than purchasing pre-made plush toys. For anyone who wants to skip the guesswork of drafting their own shaping math, a tested PDF pattern is the most efficient and enjoyable starting point.
Key Takeaways
- A pumpkin man amigurumi is worked in continuous rounds of single crochet — no advanced stitches required beyond increases, invisible decreases, and the magic ring.
- Use a 3.5–4.0mm hook with worsted-weight yarn for fabric tight enough to hide polyfill stuffing.
- Insert safety eyes between rounds 10–12, before the opening becomes too small to attach the washer from the inside.
- Back-loop-only (BLO) single crochet rows create the pumpkin's signature segmented ridges without any extra materials.
- Pin all limbs in place before sewing to check symmetry — adjusting placement before seaming saves significant time.
- Stuff with small pinches of polyfill gradually during the decrease rounds, not all at once at the end.
- For child-safe versions, use embroidered felt features instead of safety eyes to eliminate small-part hazards.
- A tested PDF pattern eliminates the need to draft your own stitch math and can be used for unlimited projects after a single purchase.