How to Crochet a Foldable Animal Bag: Complete Pattern Guide for Beginners and Beyond

Crocheting from someone else's pattern? Check its stitch counts free before you start.
How do you crochet a foldable animal bag?
What Is a Foldable Animal Bag Crochet Pattern?
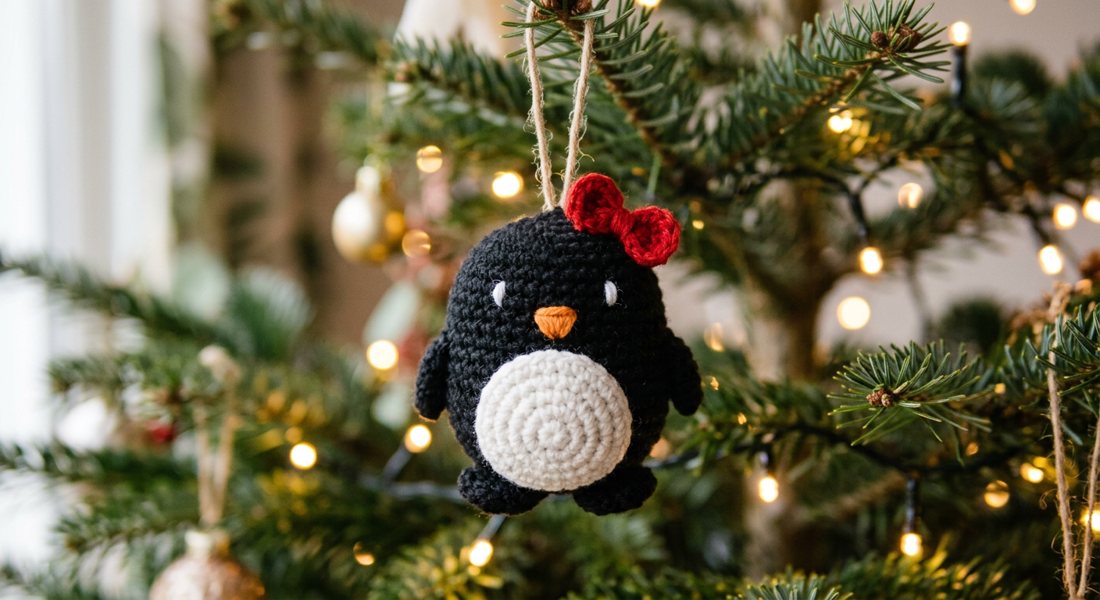
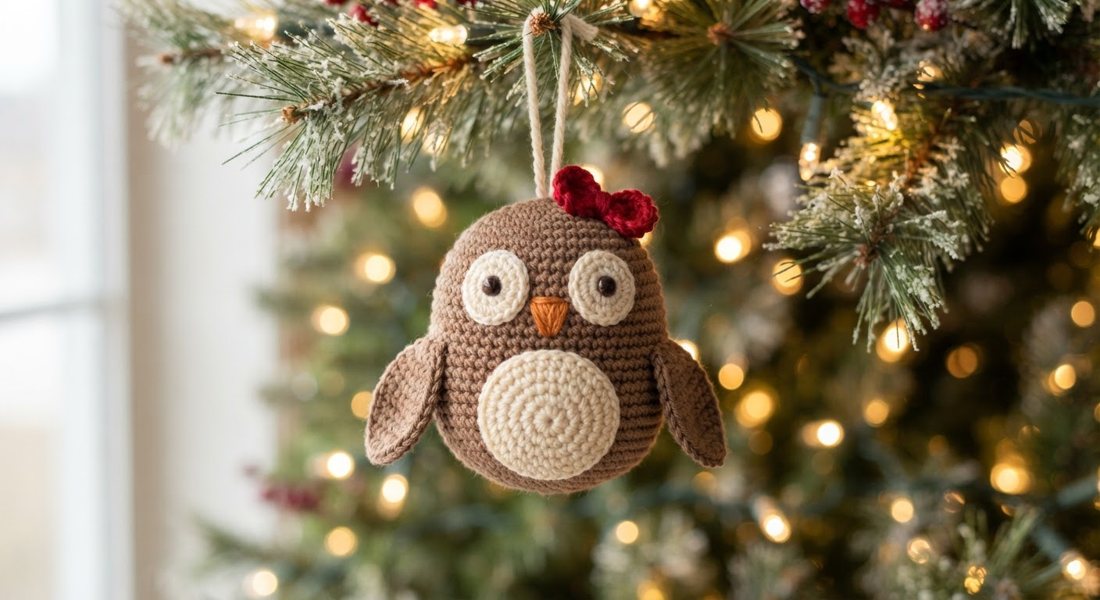
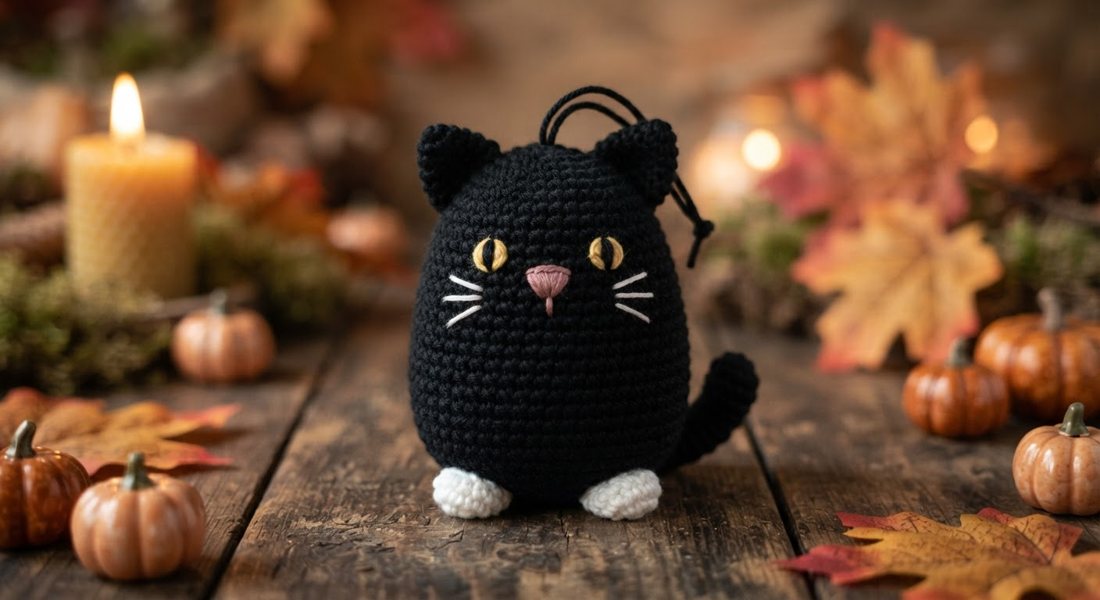
A foldable animal bag is a crocheted tote or pouch shaped like an animal — think turtles, frogs, cats, or bears — that collapses flat when not in use and expands to hold small items like snacks, toys, or accessories. The defining feature is a fold-flat construction: the bag is worked in a way that allows the sides to compress without losing their shape or distorting the animal design. These patterns are enormously popular as handmade gifts, kids' accessories, and market-bag alternatives because they combine function with a whimsical, sculptural appearance. A quality PDF crochet pattern for a foldable animal bag will include a full stitch chart, row-by-row written instructions, materials list, and assembly diagram so you can achieve the 3D animal effect reliably. Craftuary's digital download patterns are designed to be printer-friendly and include multiple views of the finished object so makers at every skill level can follow along with confidence.
Materials and Tools You'll Need Before You Start
To crochet a foldable animal bag, you'll typically need worsted-weight yarn (100% cotton is ideal for bags because it holds its structure and is washable), a matching crochet hook in the 4.0–5.0 mm range, stitch markers, a yarn needle for weaving in ends, and safety eyes or embroidery floss for the animal's facial features. For the foldable mechanism to work well, yarn choice matters: avoid very stretchy or fuzzy fibers, as they prevent the bag from lying flat and can blur stitch definition in the animal's face and body panels. You'll also want a small amount of contrast-color yarn for detailing — ear tips, shell segments on a turtle, or stripe accents on a frog — which is where the design truly comes to life. Optional but recommended: blocking mats and pins, especially if you're making the bag as a gift and want perfectly flat panels before seaming. Craftuary PDF patterns specify exact yardage estimates for each color so you can shop confidently and avoid running short mid-project.
Understanding the Foldable Construction Method
The foldable bag design relies on working the base and body panels as flat pieces that are joined at strategic seam points, rather than crocheting the entire bag in the round from the bottom up. This means the bag has a defined front panel (the animal's face and body), a back panel, and a flat gusset or none at all — the side shaping is created by the seam placement rather than added fabric. When the bag is empty, the front and back panels simply press together, making the bag slim enough to tuck into a pocket or lunchbox. The handle is worked as a long, narrow strip or a short loop attached at the top of the animal's head — for turtle designs, for example, the handle often emerges from the shell — and is reinforced with slip stitches or a second pass of single crochet to prevent stretching under load. Understanding this flat-panel logic before you begin means you'll read the pattern more fluently and won't be confused when the instructions switch between working flat and joining sections.
Step-by-Step Construction Overview
Most foldable animal bag patterns follow a four-stage build: (1) crochet the body panels (front and back) as separate flat pieces, completing any colorwork or surface embellishment like shell segment lines before assembly; (2) add the three-dimensional animal details — ears, limbs, or tails — which are worked separately and sewn on before the bag is seamed closed; (3) attach the eyes and embroider any facial features, which is easiest to do while the panels are still flat and open; and (4) seam the front and back panels together along three sides, leaving the top open, then attach or crochet the handle in the same pass. Seaming method matters for a clean finish: slip-stitch seaming worked from the right side creates a visible ridge that some designers incorporate as a decorative border, while mattress stitch or single-crochet-through-both-loops seaming from the wrong side produces an invisible join. Craftuary patterns specify which seaming approach matches the intended aesthetic so you don't have to guess. Always fasten off all animal appendages securely with a surgeon's knot and weave the tails at least 2–3 inches through the fabric before trimming to prevent unraveling with use.
Customizing Your Animal Design
One of the biggest advantages of working from a PDF pattern is that you can adapt the colorway to any animal variation you want: a green frog bag, a blue whale, a striped tabby cat, or a red ladybug all start from the same flat-panel template with different color assignments and minor detail changes. To swap the animal, you'll typically change the ear or appendage shape (worked as a small separate piece), the eye placement, and the color blocking on the front panel — the body construction stays exactly the same. For kids' bags, consider using tonal or semi-solid yarns in the animal's natural colors for a realistic effect, while bright, high-contrast pops work better as nursery décor or novelty gifts. Adding an interior lining is optional but recommended for bags that will carry damp items: cut a piece of cotton fabric to the finished bag dimensions and hand-stitch it to the inside before the final seam pass. Craftuary patterns include a notes section flagging which design elements are easily swapped so intermediate makers can personalize without losing structural integrity.
Common Mistakes to Avoid When Making a Foldable Bag
The most common issue makers run into with foldable animal bags is gauge inconsistency between the two body panels, which causes the bag to pucker or bulge at the seams rather than lying flat. Always crochet a gauge swatch (at least 10×10 cm) and adjust your hook size if needed — this single step saves hours of frogging later. A second frequent mistake is attaching safety eyes before the panels are at their final firmness; if you're planning to block the finished panels with steam or wet blocking, insert the eyes only after blocking, because heat and moisture can cause some safety-eye backs to loosen. Over-stuffing 3D appendages like ears or limbs with polyfill is tempting for a plush look, but for a flat-folding bag it creates bulk that prevents the bag from pressing flat — use minimal fill or leave them unstuffed and simply press them with an iron on a low setting. Finally, don't skip the reinforcement rows on the handle: a single-layer strap will stretch and distort after a few uses, so always work the second reinforcement pass specified in the pattern even if it feels redundant.
Where to Download a Premium Foldable Animal Bag PDF Pattern
Craftuary offers a complete foldable animal bag PDF crochet pattern as an instant digital download, which means you get the full file immediately after purchase with no shipping wait. The pattern is formatted for both US and UK crochet terminology, includes a full abbreviation key, and is optimized for printing at home on standard letter or A4 paper. Unlike many marketplace patterns priced well below the value they deliver, Craftuary patterns are thoroughly tech-edited and test-crocheted so the stitch counts and shaping instructions are verified accurate before publication. The file includes a materials checklist, gauge guide, multiple progress photos, and a troubleshooting FAQ section covering the most common construction questions. You can find the listing directly at shopcedarcompass.com or via the Craftuary shop, where all patterns are protected by a personal-use license — you're welcome to sell finished items made from the pattern but not to redistribute the PDF itself.
Key Takeaways
- A foldable animal bag is crocheted as flat panels that press together when empty, making it pocket-sized and functional.
- 100% cotton worsted-weight yarn gives the best structure and washability for a crocheted bag.
- Attach safety eyes and embroider facial details while panels are still flat, before seaming.
- Gauge consistency between front and back panels is the single most important factor for a flat, professional finish.
- Always work the reinforcement pass on the handle to prevent stretching under load.
- The animal design is highly customizable: swap color, ear shape, and eye placement without changing the core construction.
- Craftuary PDF patterns include US/UK terminology, verified stitch counts, and a troubleshooting FAQ.
- Instant digital download means you can start crocheting within minutes of purchase.