Free pattern · Thanksgiving ·
Chestnut Crochet Pattern Free: Kawaii Fall Amigurumi
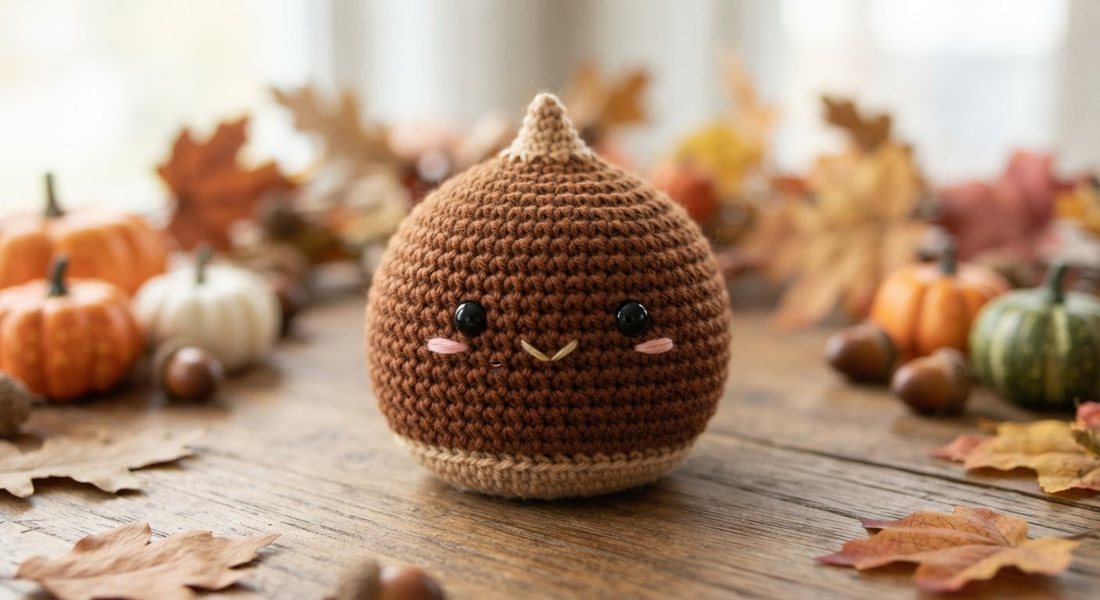
A round warm brown chestnut with a flat tan patch on its base and a small tan point on top, black safety eyes, pink cheeks and a small tan smile. This is a quick, beginner-friendly Thanksgiving crochet pattern: 3 pieces worked in spiral rounds of single crochet, about 9 cm when it's finished. It's free with a Craftuary account.
| Finished size | about 9 cm |
|---|---|
| Yarn | Worsted weight |
| Hook | 3.5-4.0 mm |
| Level | Beginner |
| Time | about 1-2 hours |
| Rounds | 26, each with its stitch count |
| Price | Free |
Jump to the pattern Printable PDF (free) Save it on Pinterest
What you need
- Worsted weight (CYC 4). A (chestnut brown) about 25 yd (23 m), B (tan) about 5 yd (5 m); C (pink) small amount
- Hook: 3.5-4.0 mm
- Stuffing, a stitch marker and a yarn needle
Shop the supplies
Worsted weight yarn3.5 mm crochet hookFiberfill stuffingStitch markersYarn needlesSafety eyesWorsted yarn at LoveCrafts
As an Amazon Associate and a LoveCrafts affiliate, Craftuary earns from qualifying purchases. It costs you nothing extra and helps keep the free patterns free.
What you'll make
3 pieces (Nut, Base, Tip), 26 rounds in all, every round with its stitch count written at the end so you can check as you go.
Tips
- Work in continuous spiral rounds and move your stitch marker up every round.
- Count your stitches at the end of each round; the number in brackets is what you should have.
- Use a hook a size smaller than your yarn label suggests, so the stuffing doesn't show.
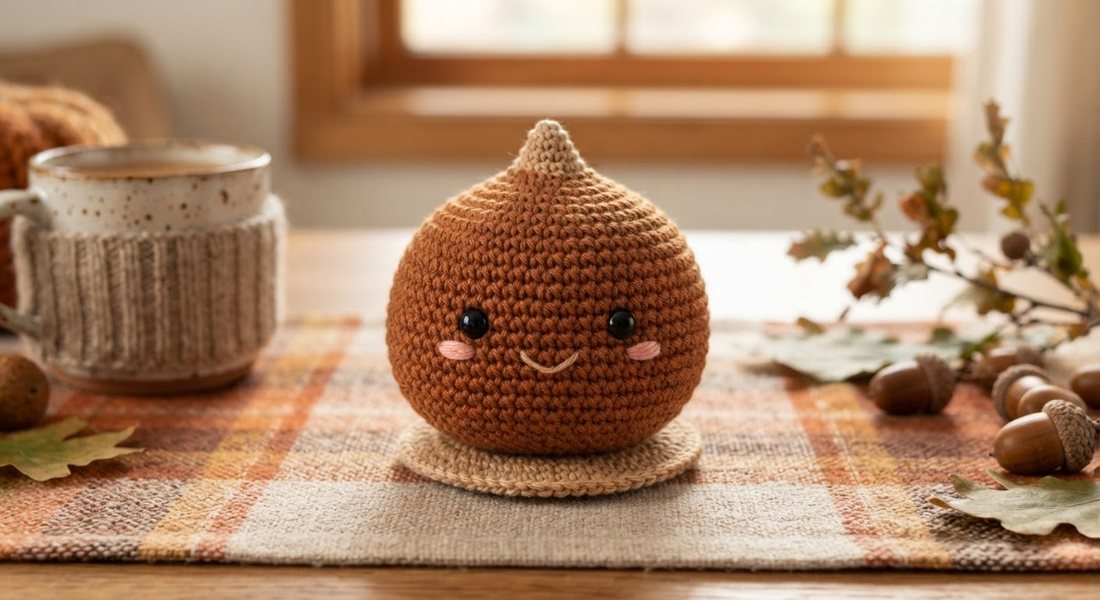
- Make one for each place setting, or a few together as a table centrepiece.
The free pattern
US crochet terms. The number at the end of each round is how many stitches you should have.
Size: about 9 cm (3.5 in) tall in worsted yarn (approximate; it depends on your tension)
Yarn: Worsted weight (CYC 4). A (chestnut brown) about 25 yd (23 m), B (tan) about 5 yd (5 m); C (pink) small amount
Hook: 3.5-4.0 mm (smaller than the yarn label, for a tight fabric with no stuffing showing)
Notions: 10-12 mm safety eyes (or embroidery thread for a baby's toy), fiberfill stuffing, stitch marker, yarn needle
ABBREVIATIONS (US terms): MR magic ring, sc single crochet, inc 2 sc in one stitch, dec single crochet 2 together (invisible decrease recommended), st(s) stitch(es), sl st slip stitch, FO fasten off, Rnd(s) round(s)
Notes: Worked in continuous spiral rounds; move your stitch marker up each round. The number in brackets is the stitch count at the end of the round.
PROPORTIONS: The eyes are big on purpose. Big safety eyes need a firm, well-stuffed head so they sit flat; above about 30 mm, crochet flat eye circles and sew them on instead.
Nut (make 1, colour A), about 6.7 cm (2.7 in) across at its widest
- Rnd 1 6 sc in MR 6
- Rnd 2 inc in each st around 12
- Rnd 3 (sc, inc) x 6 18
- Rnd 4 (sc 2, inc) x 6 24
- Rnd 5 sc, inc, (sc 3, inc) x 5, sc 2 30
- Rnd 6 (sc 4, inc) x 6 36
- Rnds 7-12 sc in each st around 36
Insert the safety eyes (10-12 mm) now, between Rnds 9 and 10, about 6 stitches apart, and lock the washers on the inside before you stuff. For a toy for a child under 3, skip them and embroider the eyes after stuffing.
- Rnd 13 (sc 4, dec) x 6 30
- Rnd 14 sc, dec, (sc 3, dec) x 5, sc 2 24
- Rnd 15 (sc 2, dec) x 6 18
Stuff firmly, and keep stuffing as you close.
- Rnd 16 (sc, dec) x 6 12
- Rnd 17 dec in each st around 6
FO, weave the tail through the front loops of the last 6 stitches and pull closed.
Base (make 1, colour B), about 4.5 cm (1.8 in) across at its widest
- Rnd 1 6 sc in MR 6
- Rnd 2 inc in each st around 12
- Rnd 3 (sc, inc) x 6 18
- Rnd 4 (sc 2, inc) x 6 24
Sl st in the next st to finish. FO, leaving a long tail.
Tip (make 1, colour B), about 1.5 cm (0.6 in) across at its widest
- Rnd 1 4 sc in MR 4
- Rnd 2 sc in each st around 4
- Rnd 3 inc in each st around 8
- Rnds 4-5 sc in each st around 8
FO, leaving a long tail for sewing. Stuff lightly if you like.
Assembly
- Check the safety eyes on the nut are locked tight (you put them in between Rnds 9 and 10 while making it). For a toy for a child under 3, embroider the eyes now instead.
- Embroider the pink cheeks on the nut at Rnd 11 with colour C.
- Embroider the small smile on the nut around Rnds 11-12 with colour B.
- Sew the base to the nut between Rnds 14 and 17. Flat over the bottom, so the chestnut sits on it.
- Sew the tip to the nut between Rnds 1 and 2. On the centre top, point up, lightly stuffed.
- Weave in all ends.
Want it on paper, or with pictures of every stage?
Free account: the printable PDF in US Letter and A4. Premium: a 3D build video of every round and a step-by-step picture guide.
Get the printable PDF free What premium adds →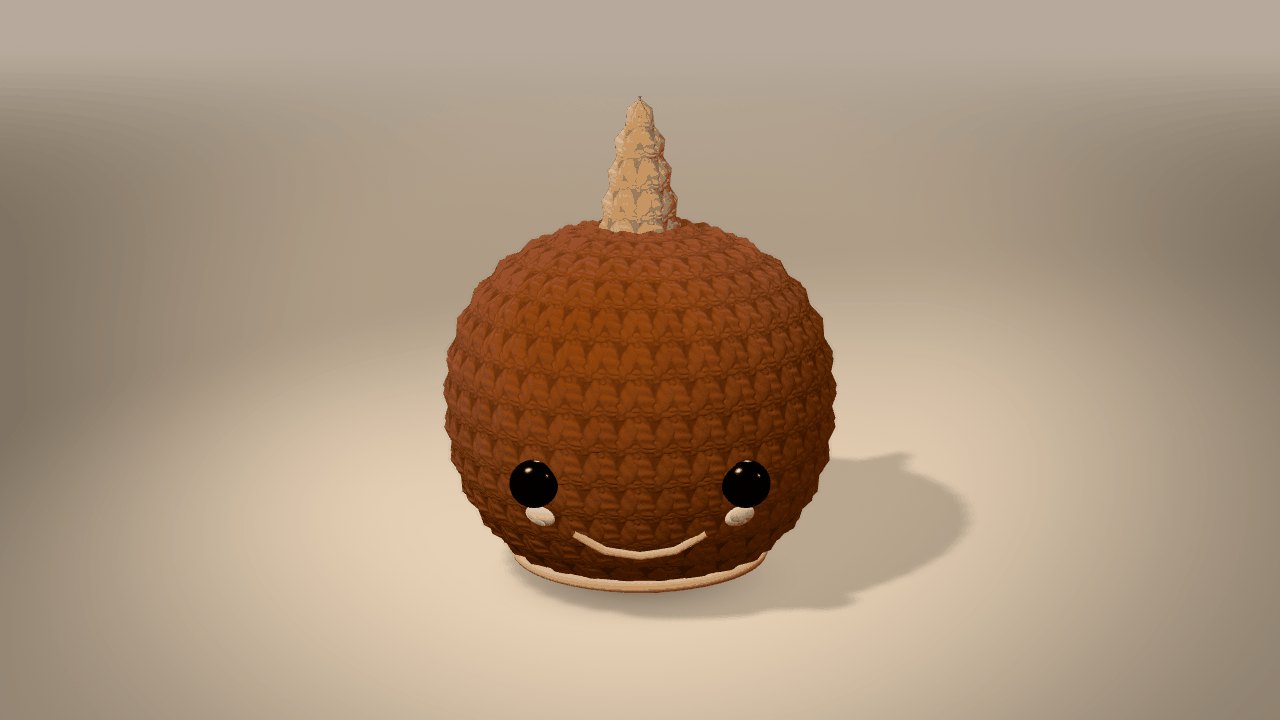
Premium Edition · $4.99
See every round of the Little Chestnut built in 3D
- Pause, turn and step through it while you crochet
- All 524 stitches, 3 pieces, and how they join
- Finished size shown: about 8.9 cm
The photo shows the finished toy. The 3D is a step-by-step guide that shows where each stitch goes, so it looks simpler and blockier than real yarn.
Included with Pro Annual. The pattern below stays free.
Questions
Is the Little Chestnut crochet pattern free?
Yes. The Little Chestnut pattern is free with a Craftuary account, as a US Letter and an A4 PDF.
What yarn and hook do I need for the Little Chestnut?
Worsted weight yarn and a 3.5-4.0 mm hook, plus stuffing, a stitch marker and a yarn needle.
How big is the crochet little chestnut?
About 9 cm, depending on your yarn and tension.
Is the Little Chestnut pattern good for beginners?
Yes. It uses single crochet, increases and decreases in spiral rounds, and every round ends with its stitch count so you can check as you go. Most makers finish it in about 1-2 hours.
Get it
The whole pattern is above, free to read. The printable PDF (US Letter and A4) is free with a Craftuary account. Premium members also get the 3D build video and a step-by-step picture guide.
The pictures are previews; your finished piece will vary with your yarn and tension.
Free fall and Thanksgiving crochet patternsFree amigurumi patterns: crochet toys and ornamentsEasy crochet patterns and ideas for beginnersFree crochet patterns: amigurumi, ornaments and toys
Free guides: How to crochet · Crochet stitches · How to crochet in the round · Crochet pattern maker · How to crochet a scarf · How to crochet a beanie · Crochet waffle stitch · How to change colors in crochet · How to double crochet (dc) · How to half double crochet (hdc) · Single crochet vs double crochet · How to attach safety eyes to crochet amigurumi · How to fasten off crochet and weave in the ends · Front post double crochet (FPdc) · How to slip stitch crochet (sl st)
More free patterns
- Bubble Tea Crochet Pattern Free: Little Amigurumi Boba Cup
- Mole Crochet Pattern Free: Little Christmas Amigurumi
- Pumpkin Bat Crochet Pattern: Free Little Halloween Amigurumi
- Mini Crab Crochet Pattern Free: Christmas Amigurumi Ornament
- Fried Egg Crochet Pattern Free: Easy Mini Amigurumi
- Ghost Crochet Pattern Amigurumi: Free Little Ghost Bunny