Free sewing pattern ·
Envelope Pillow Cover Pattern Free: 18x18 Sewing Tutorial
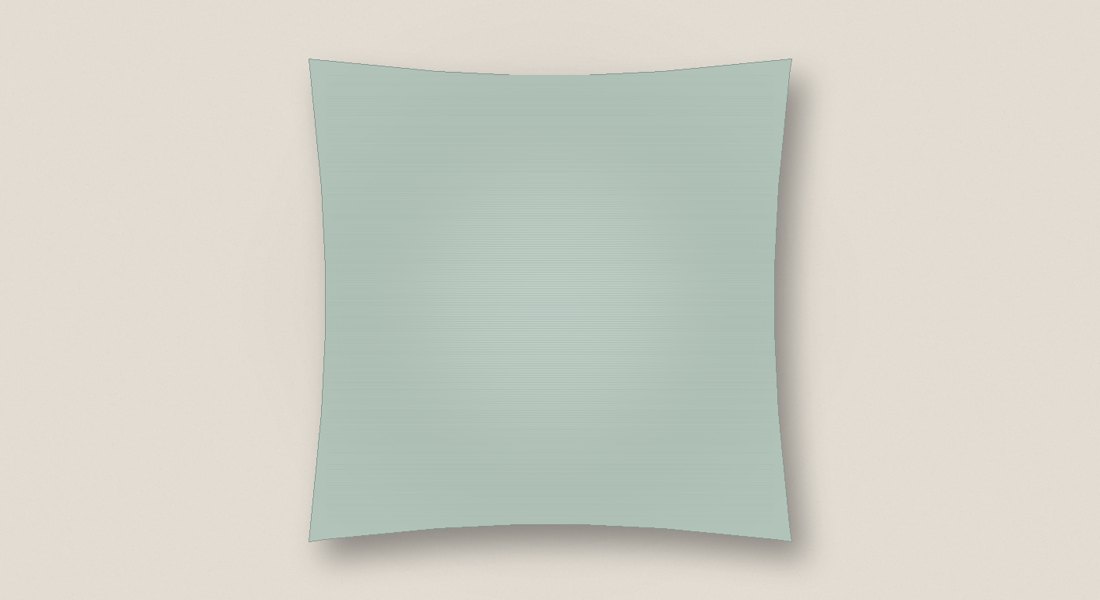
| Finished size | 18 x 18 in (45 x 45 cm), for an 18 in insert |
|---|---|
| Fabric | 3/4 yd of 44 in cotton, linen or canvas |
| Pieces | 1 front 19 x 19 in, 2 back panels 19 x 13 in |
| Seam allowance | 1/2 in |
| Level | Beginner, sewing machine |
| Time | about 1 hour |
| Price | Free |
Jump to the pattern Printable PDF (free) Save it on Pinterest
What you need
- 3/4 yd (70 cm) of 44 in wide medium-weight cotton, linen or canvas
- Matching thread
- Pins or clips, iron, ruler and fabric marker
- An 18 x 18 in pillow insert
How it's made, in short
- Cut. Cut one front 19 x 19 in and two back panels 19 x 13 in.
- Hem the backs. Press 1/2 in then 1 in to the wrong side on one long edge of each back panel and topstitch.
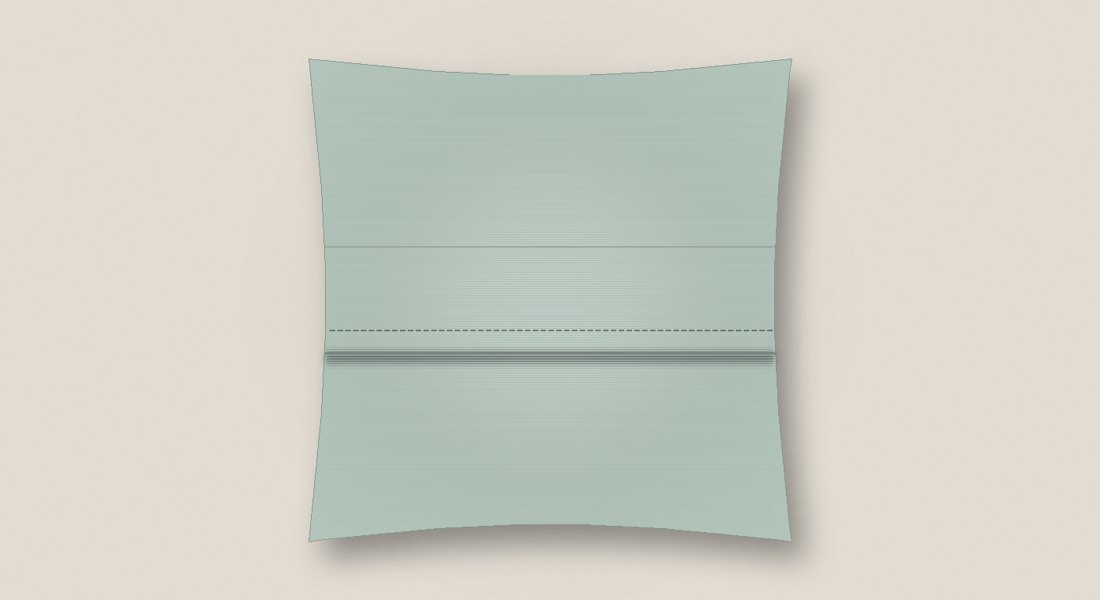
- Stack. Front right side up, then both backs right side down with their hems overlapping 4 in in the middle.
- Sew. Sew all round with a 1/2 in seam, going over the overlap twice.
- Turn. Clip the corners, turn it right side out through the overlap, press and add the insert.
Free guides: Free sewing patterns
Tips
- Pre-wash the fabric before cutting so the cover does not shrink smaller than the insert.
- Cut the front with a motif centred; the backs are seen less, so they are a good place for a print that does not need matching.
- Going over the overlap twice in step 4 is what stops the back from pulling open when you plump the pillow.
The free pattern
Measurements in inches with centimetres in brackets. Seam allowance 1/2 in unless stated.
Size: fits an 18 x 18 in (45 x 45 cm) pillow insert; the cover is 18 in square, so the insert fills it plump
Fabric: 3/4 yd (70 cm) of 44 in (112 cm) wide medium-weight cotton, linen or cotton canvas
Notions: matching thread, pins or clips, iron, ruler and fabric marker, sewing machine, an 18 in pillow insert
Seam allowance: 1/2 in (1.3 cm) all round; the back hems are turned 1/2 in, then 1 in
CUTTING (no paper pattern needed, just measure and cut)
Front: cut 1, 19 x 19 in (48.3 x 48.3 cm). Grain line parallel to either side.
Back panel: cut 2, each 19 in wide x 13 in tall (48.3 x 33.0 cm). Grain line parallel to the 19 in side.
Layout: cut the front from one side of the fabric and the two back panels one above the other beside it, all running the same way as the selvage; together they take 38 in of the width and 26 in of the length.
Instructions
- Back hems: on one 19 in edge of each back panel, press 1/2 in to the wrong side, then another 1 in. Topstitch 1/8 in from the inner fold. Each hemmed back panel is now 11.5 in tall.
- Lay the front right side up.
- Lay one back panel on it, right side down, raw edges matching the top and sides, hem toward the middle. Lay the second back panel right side down on the bottom, raw edges matching the bottom and sides, hem toward the middle. The two hems overlap by 4 in in the middle. Pin all round, through all three layers where the backs overlap.
- Sew all round with a 1/2 in seam, pivoting at the corners. Backstitch at the start and end, and go over the overlap a second time for strength.
- Clip the four corners diagonally, 1/8 in from the stitching, and finish the seam allowances with a zigzag stitch.
- Turn the cover right side out through the opening, push out the corners and press.
- Fold the insert in half, slide it in through the overlap, and let it open out.
How we checked it: sewlib constructibility certificate passed; interpreter: 8 seams, 8 declared open edges, every edge used exactly once, mating edges equal; cut sizes = finished + allowances (front 19 x 19 in, backs 19 x 13 in, hemmed backs overlap 4 in); grain on every piece; layout 38 x 26 in fits 3/4 yd of 44 in fabric. We work hard to get every number right, but mistakes can still happen; tell us at hello@craftuary.com if anything is off.
Want it on paper?
The printable PDF (US Letter and A4) is free with a Craftuary account.
Get the printable PDF freeQuestions
What size do I cut for an envelope pillow cover?
For an 18 inch insert: one 19 inch square front and two 19 x 13 inch backs. That is the insert size plus a 1/2 inch seam on every side, and backs long enough to overlap 4 inches after hemming.
How much fabric do I need for an 18 inch pillow cover?
3/4 yard of 44 inch wide fabric fits the front and both back panels.
How much should the back of an envelope pillow overlap?
About 4 inches on an 18 inch cover, so the insert stays hidden and the back does not gape.
Can a beginner sew an envelope pillow cover?
Yes. It is straight seams only, with no zip or buttons; most beginners finish it in about an hour.
The pictures are drawn from the pattern's own measurements and stitches; your finished piece will vary a little with your materials.
Sewing patterns: every sewing pattern on Craftuary.
Other crafts: Crochet patterns · Knitting patterns · Embroidery guides · Embroidery and cross stitch patterns