How to Embroider Christmas Ornaments with Machine Embroidery Designs: A Complete Guide

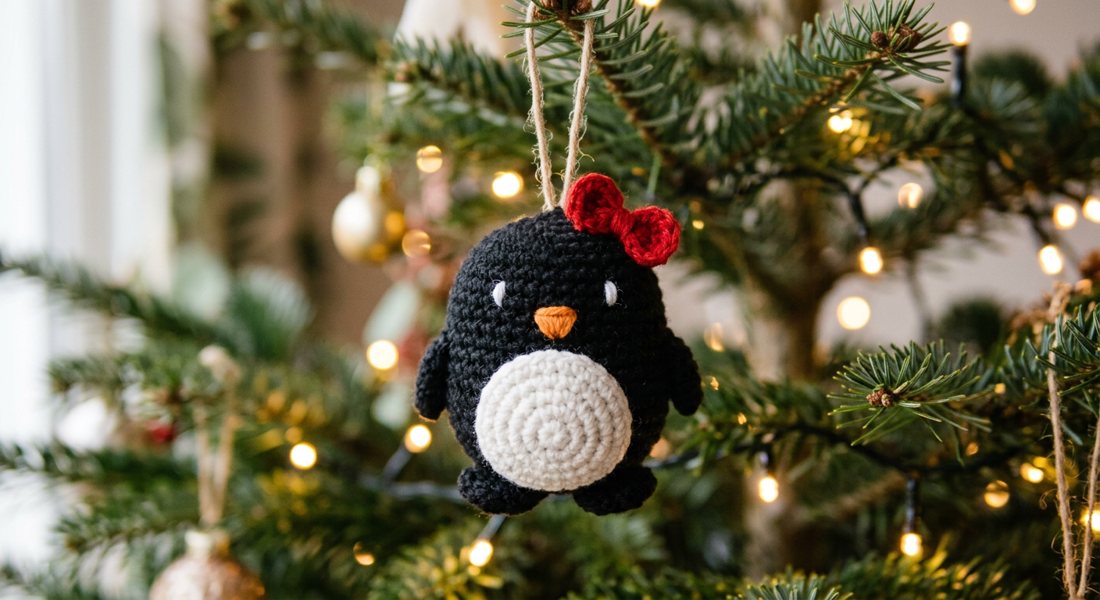
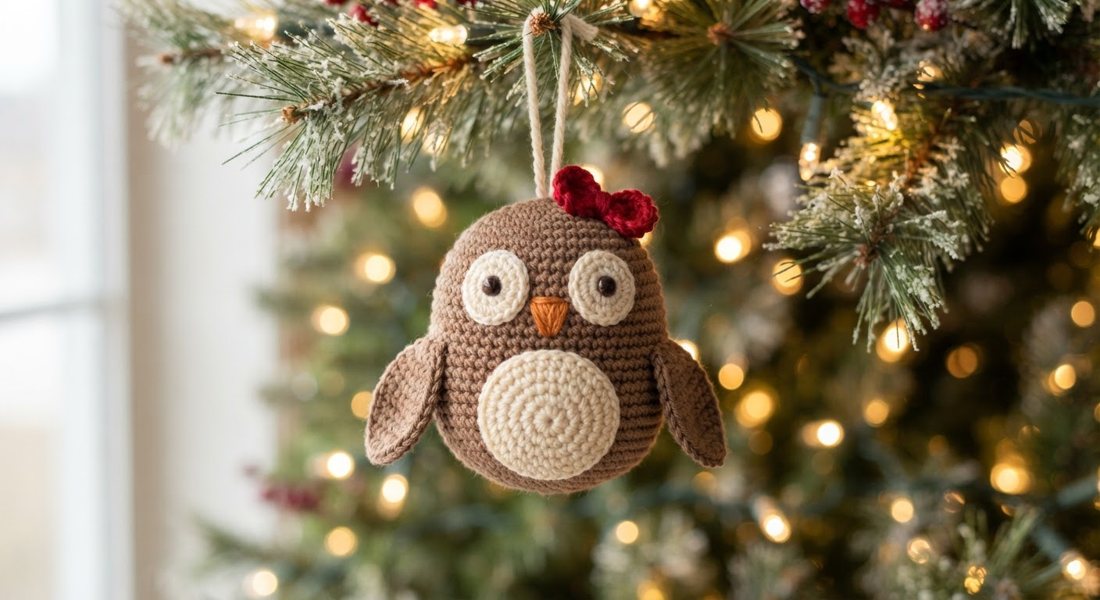
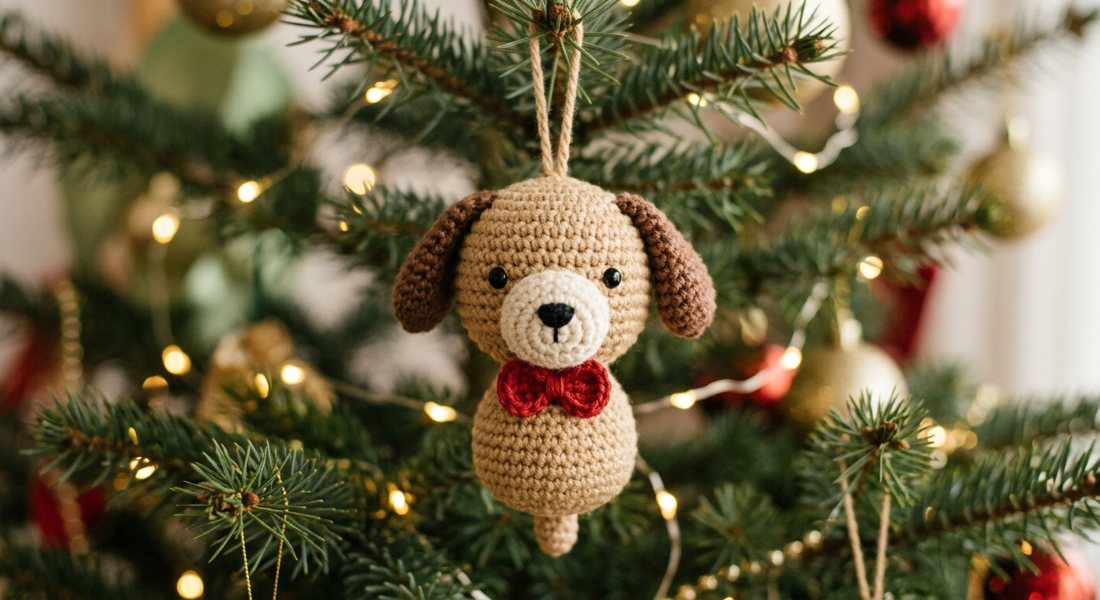
See all 40 free Christmas patterns or all 40 in 3D for $9.99
How do I use machine embroidery designs to make Christmas ornaments?
What Are Christmas Ornament Machine Embroidery Design Files?
Christmas ornament embroidery design files are pre-digitized stitch patterns formatted for home and commercial embroidery machines, typically available as digital downloads in formats like PES, DST, EXP, JEF, HUS, and VP3. Each file encodes the exact path, density, and color sequence the machine's needle follows to recreate the design — from classic snowflakes and reindeer silhouettes to monogrammed baubles and folk-art nativity scenes. Unlike iron-on transfers or vinyl, these designs are stitched directly into fabric, creating a dimensional, heirloom-quality result that won't peel or fade over time. A single listing often bundles multiple design variations and sizes so you can scale the same motif to fit a 2-inch felt circle or a larger quilted ornament panel. Once purchased and downloaded, the files live permanently on your computer and can be used to stitch as many ornaments as you like, making them far more economical than pre-made options when you're producing gifts in bulk.
Which File Format Do You Need for Your Embroidery Machine?
Every embroidery machine brand uses its own native file format, and loading the wrong one will either produce an error or a garbled stitch-out. Brother and Baby Lock machines read PES files; Janome uses JEF; Husqvarna Viking and Pfaff accept HUS and VP3 respectively; and the universal DST format is recognized by most commercial-grade machines. Before purchasing any design bundle, check your machine's manual or the manufacturer's website to confirm which formats it supports — this information is usually listed under 'compatible embroidery file types.' High-quality design bundles, including the Christmas Ornament Embroidery Designs set available from Craftuary, include multiple formats in a single ZIP download so you are covered regardless of which brand you own. If your machine uses a format not included in a bundle, free conversion software like Ink/Stitch or SewArt can reformat the DST or PES version in minutes. Always run a test stitch on scrap fabric after converting to confirm stitch quality and density are preserved.
Best Fabrics and Stabilizers for Embroidering Christmas Ornaments
The fabric and stabilizer combination you choose is the single biggest factor in whether your ornament stitches out cleanly or turns into a puckered mess. For ornaments, the most popular base fabrics are felt, wool blend felt, linen, and Kona cotton — felt in particular is ideal for beginners because its tight weave prevents show-through and it requires no hoop marks to be washed out. Cut-away stabilizer is the go-to choice for stretchy or loosely woven fabrics like velvet or knit, because it remains permanently behind the stitches and prevents long-term distortion. For non-stretch fabrics like linen or cotton, a medium-weight tear-away stabilizer works well and is easy to remove cleanly around dense ornament fills. If you're embroidering on a completed felt circle that is too small to hoop independently, use a sticky-back stabilizer or float the piece on a hooped piece of tear-away using temporary adhesive spray — this technique prevents hoop burn on delicate or pre-cut ornament blanks. Always use a topper of water-soluble stabilizer when stitching on plush, velvet, or any texture that might swallow fine detail stitches.
Hooping Tips for Small Ornament Embroidery Designs
Most Christmas ornament designs are digitized to fit within a 4x4-inch hoop, the smallest standard hoop size included with most home embroidery machines. Getting a tight, wrinkle-free hoop with small pieces of fabric is trickier than it looks — the key is to cut your fabric generously (at least 2 inches larger than the hoop on every side) so you have enough material to grip between the inner and outer hoop rings without the design area slipping. For very small ornament designs under 3 inches, consider a mini hoop if your machine supports one, since a tighter hoop keeps fine metallic threads from shifting mid-stitch. Always center your stabilizer and fabric before snapping the outer ring into place, then gently tug all four sides of the fabric edge to remove slack before tightening the hoop screw. If you are batch-stitching a dozen ornaments at once, a placement grid printed on tear-away stabilizer lets you float each pre-cut ornament blank in the correct position repeatedly without re-hooping between ornaments, saving significant setup time.
Thread Choices That Make Christmas Ornament Embroidery Shine
Thread selection transforms a competent stitch-out into something that looks genuinely festive and premium. For classic Christmas ornament designs, a combination of 40-weight rayon or polyester thread for the fills and 60-weight bobbin-weight thread for the bobbin produces smooth, satiny color coverage with minimal bulk on small ornament pieces. Metallic threads in gold, silver, and copper elevate any ornament design dramatically — look for specialty needles sized 75/11 or 80/12 with a larger eye and a Teflon-coated shaft, which dramatically reduces thread breaks when stitching with metallics. Slow your machine speed to 400–600 stitches per minute when using metallics, as high-speed stitching generates friction heat that causes these threads to fray and snap. For a cozy, folk-art aesthetic, wool or wool-blend thread gives fills a slightly matte, hand-stitched texture that pairs beautifully with linen or natural cotton ornament bases. Consider mapping the design's color stops to a limited palette of three or four coordinating shades so a set of ornaments looks cohesive hanging on the tree together.
How to Finish and Assemble an Embroidered Christmas Ornament
Once your design is stitched out, remove the stabilizer carefully by tearing or trimming close to the stitching, then press the piece face-down on a thick terry towel to avoid flattening the raised stitches. Cut the embroidered front panel into your ornament shape — circle, teardrop, star, or whatever the design calls for — leaving a quarter-inch seam allowance if you plan to sew front and back pieces together. The most common finishing method is to cut a matching back piece from felt or complementary fabric, layer them wrong-sides together with a loop of ribbon or jute twine sandwiched between the layers at the top, and stitch around the perimeter either by machine or by hand using a blanket stitch. For a more polished look, stuff the ornament lightly with polyester fiberfill before closing the final seam, which gives the piece a plump, dimensional appearance that photographs beautifully. A dab of fray-check sealant along any raw fabric edges — especially on woven fabrics like linen — will prevent the ornament from deteriorating after seasons of handling and storage.
Where to Get Christmas Ornament Embroidery Designs (and What Makes a Quality Set)
A quality Christmas ornament embroidery design set should include multiple format files (PES, DST, JEF at minimum), clearly labeled size variants, a color-stop guide, and a recommended stabilizer and thread note from the digitizer. Craftuary offers a Christmas Ornament Embroidery Designs bundle at shopcedarcompass.com that checks all these boxes, available as an instant digital download for $6.50 — you can find it at https://craftuary.com/ When evaluating any design file, look for a sample stitch-out photo on the product page, because a digitizer confident in their work will always show the real stitched result, not just a rendered preview. Avoid bundles that list only a single file format or that fail to disclose the design's stitch count, as high-stitch-count designs (above 15,000 stitches for a 4x4 ornament) can cause small fabrics to tunnel or pucker. Purchasing from a shop that specializes in digital products means the files are tested, updated if compatibility issues arise, and backed by a seller who can answer format or sizing questions.
Key Takeaways
- Christmas ornament embroidery design files come in formats like PES, DST, JEF, and VP3 — always match the format to your machine brand before purchasing.
- Felt and medium-weight tear-away stabilizer are the most beginner-friendly combination for clean ornament stitch-outs.
- Metallic threads require a specialty needle and slower machine speed (400–600 SPM) to prevent breaks.
- A quality design bundle includes multiple formats, size variants, and a color-stop guide.
- Finishing an embroidered ornament involves trimming, backing with a second fabric layer, adding a ribbon loop, and optionally stuffing before sealing the edges.
- Craftuary's Christmas Ornament Embroidery Designs set is available as a $6.50 instant digital download at shopcedarcompass.com, compatible with most major home embroidery machine brands.